to close
to close
The default dashboard uses a variable that is set in the Begin VI to decide what options to display, so we’ll start by adding options to the default there.
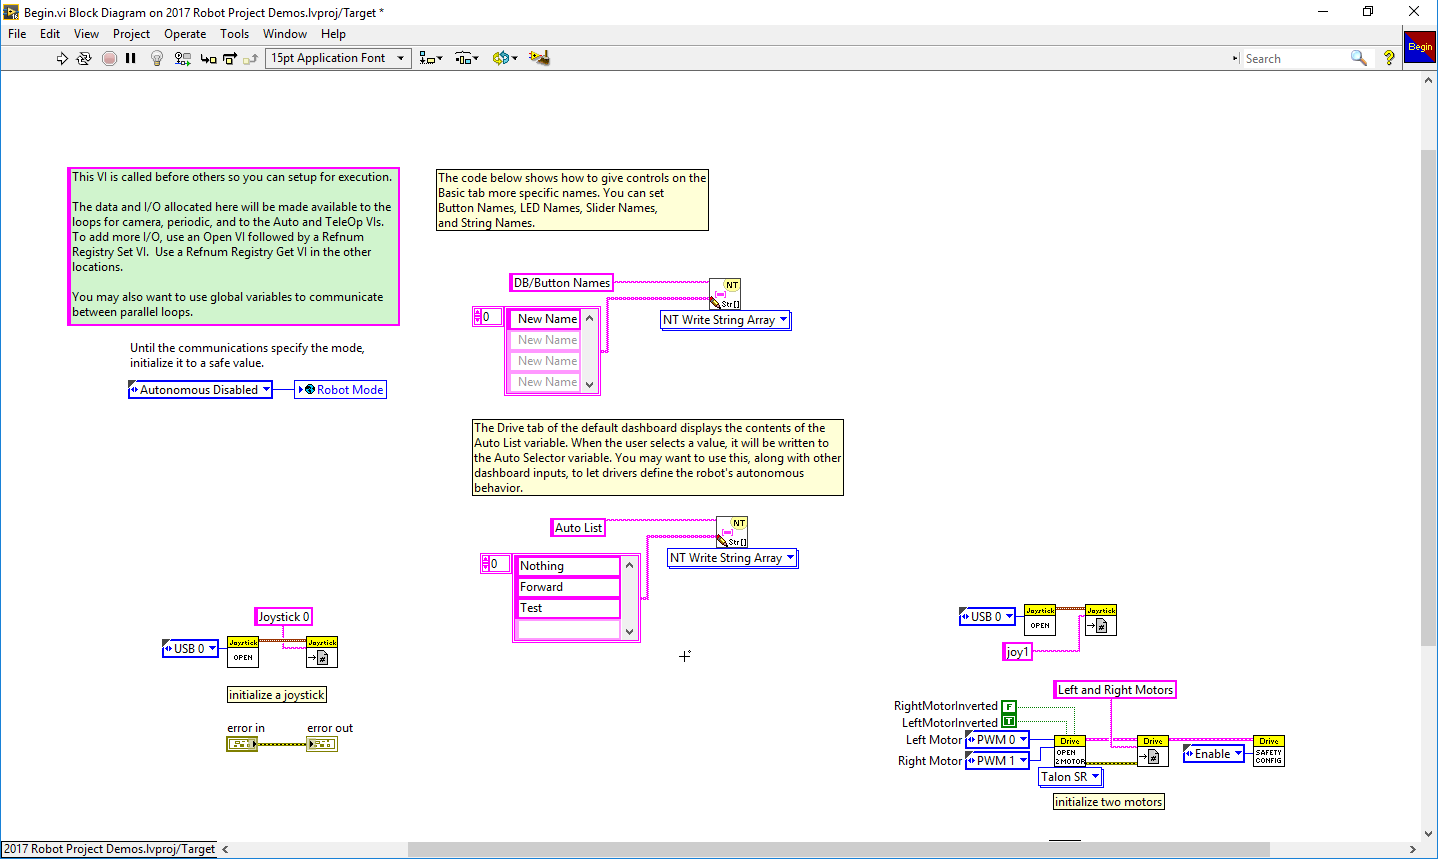
If you deploy this code and open connect the dashboard, you can click the drop down to see the updated options list.
It is also possible to type the desired option - but when doing this (with the default dashboard) you have to click out of the box to apply the value
Right click on the case structure in Autonomous
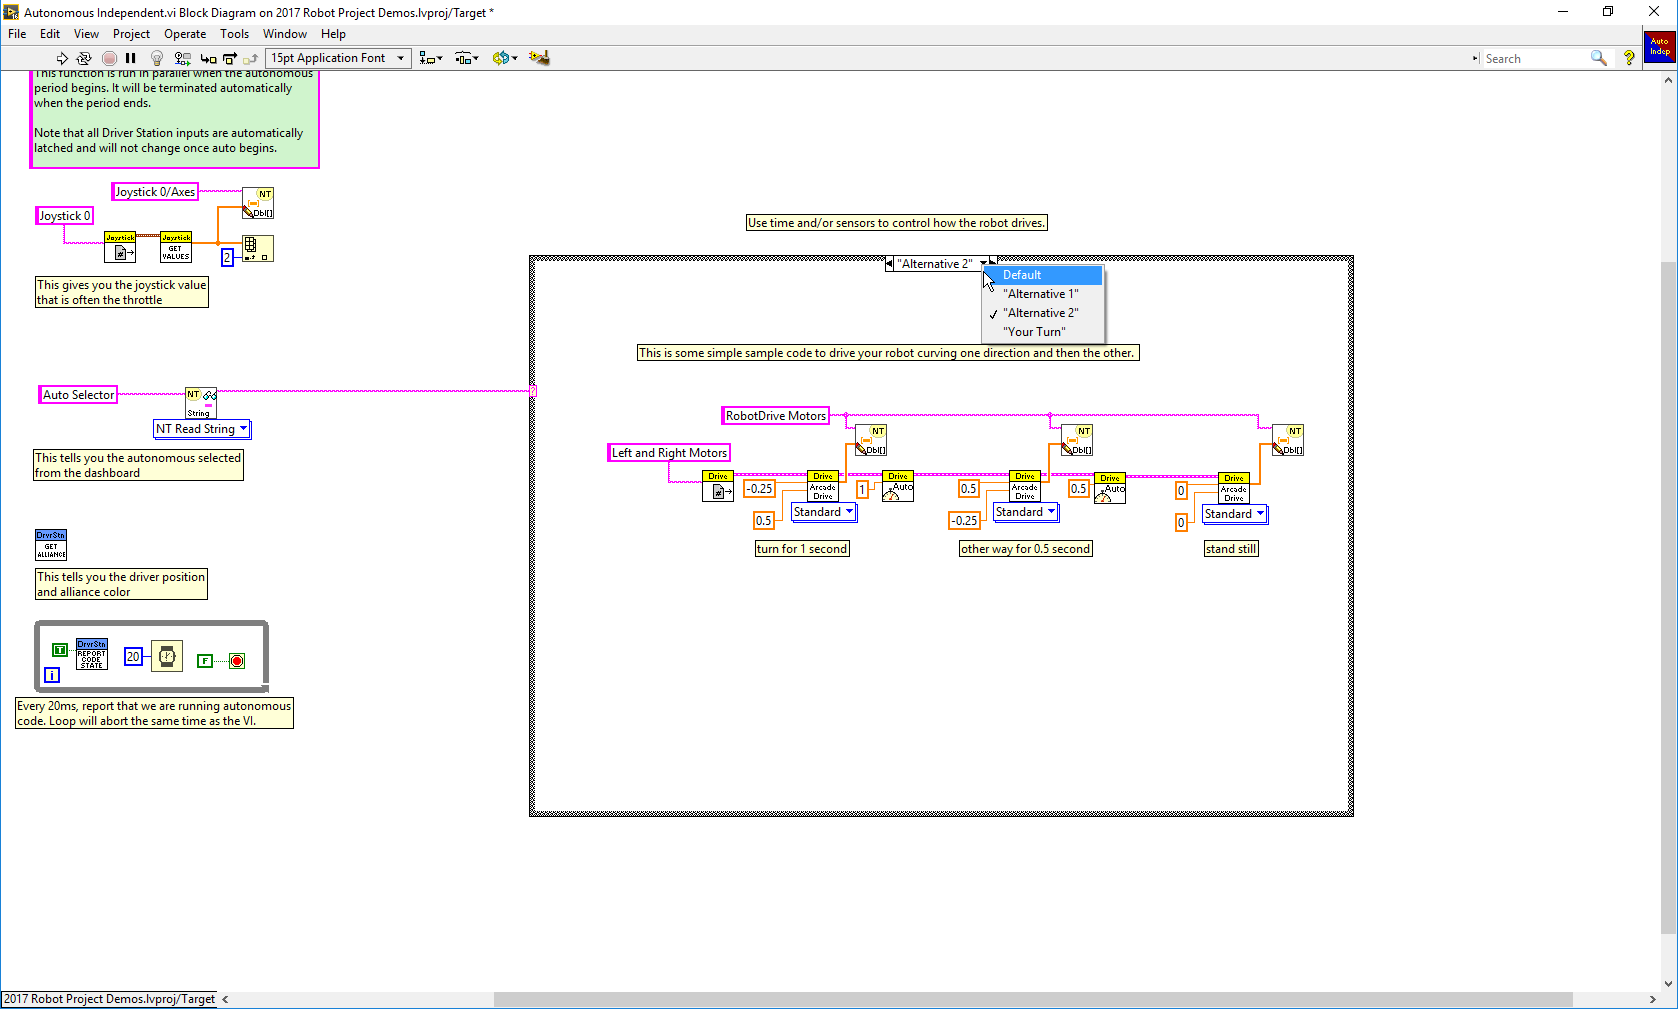
You see all of the cases that are currently there. You also have the option to delete the case that is shown when you right click.
Delete all cases you don’t plan to use (keep anything you are planning to copy and paste later)
Add a case for every value that you would like to select (I encourage you to keep the blank, default case) and edit the code.
You can change the label by double clicking and editing between the quote marks.

While this does allow for as many options as you desire, you have to type out the names for them multiple times (in auto and either in the Begin so they show in the list, or when you use them).
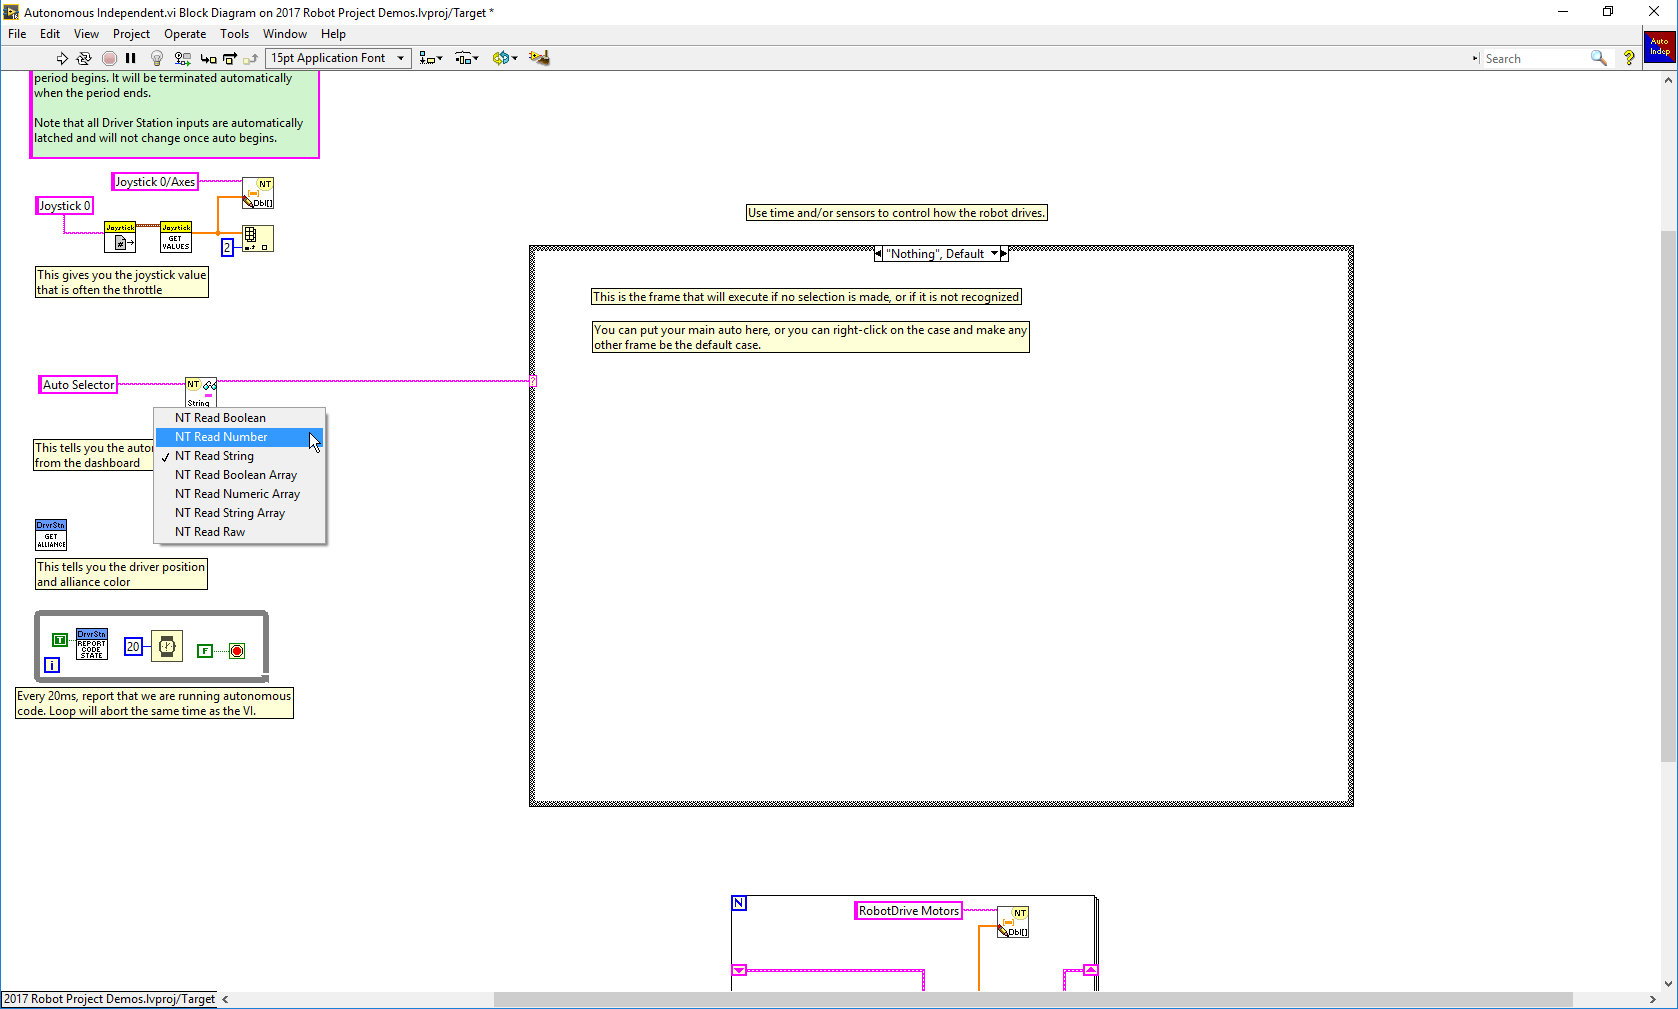
We first change the Dashboard Read to reading a number
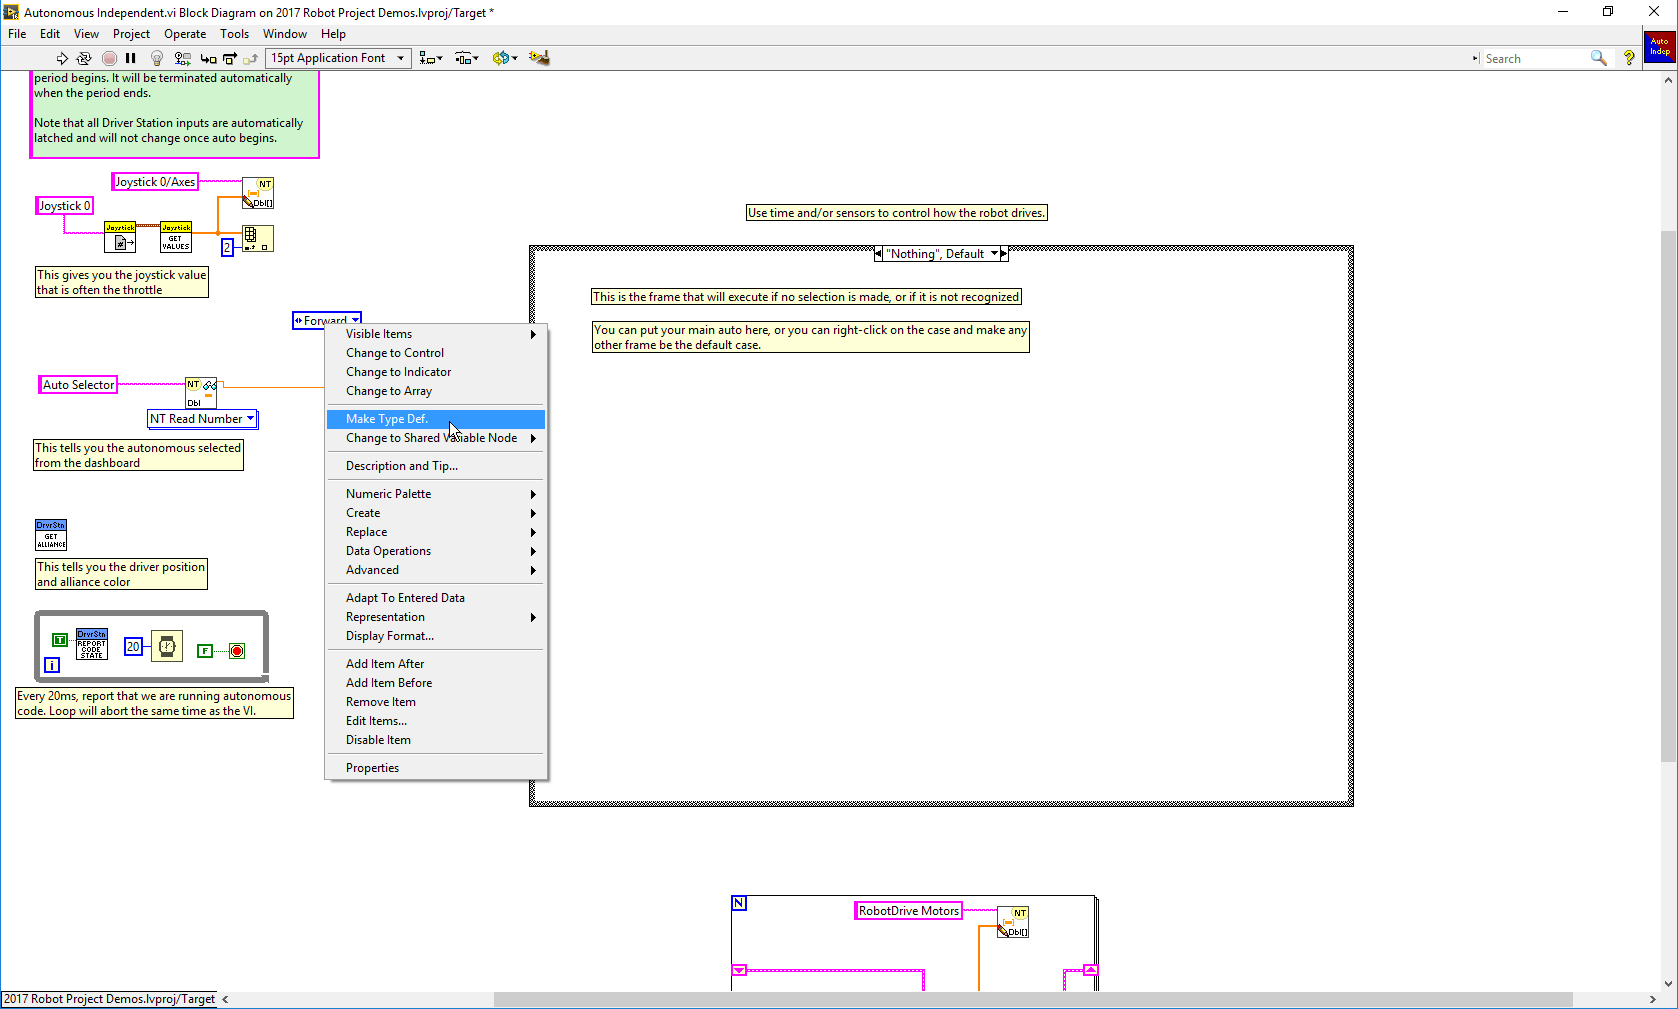
We then create an enum (from the numerics palette) and make it a Type Def
Once opened, we can edit the items and add all the options we desire.
Once that is finished, we Apply Changes (under File) and Save it (save it somewhere easily accessible - like the desktop)
Back in Autonomous, use a Type Cast vi (use quick search - hit ctrl + space - or find it under the Numeric -> Data Manipulation pallette) to convert the number that is read to the enum
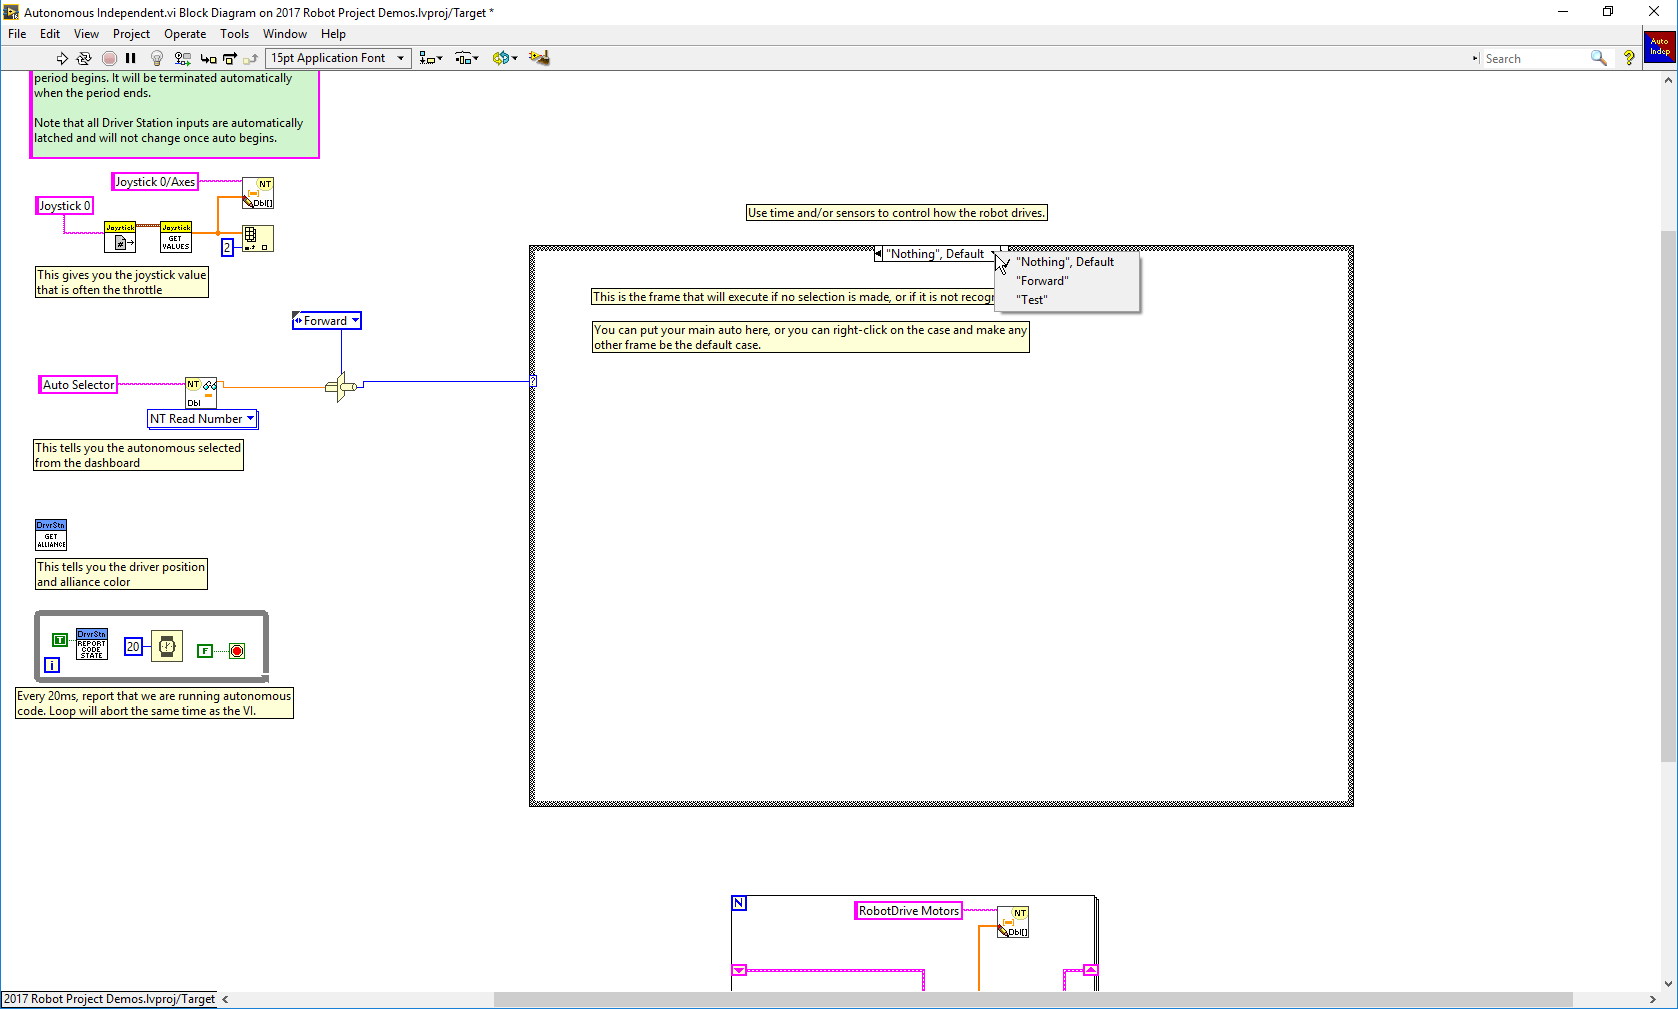
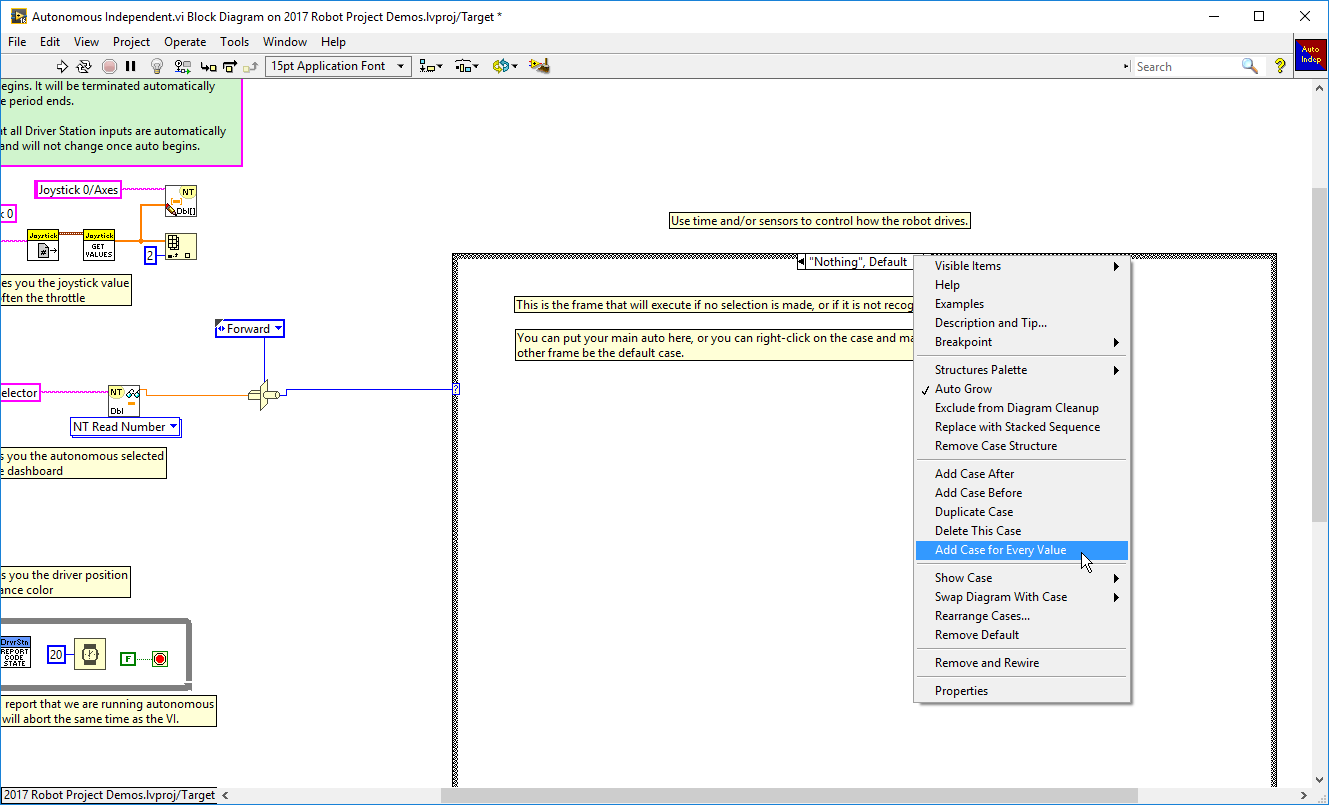
You can right click and select “Add case for every value” to populate the entire list
To use this value (or rather - have it sent . . .), we need to create a custom dashboard (more details on setting this up under our gyro tutorial).
We replace the default combo box with our enum by selecting “choose a control” and navigating to where we saved it.
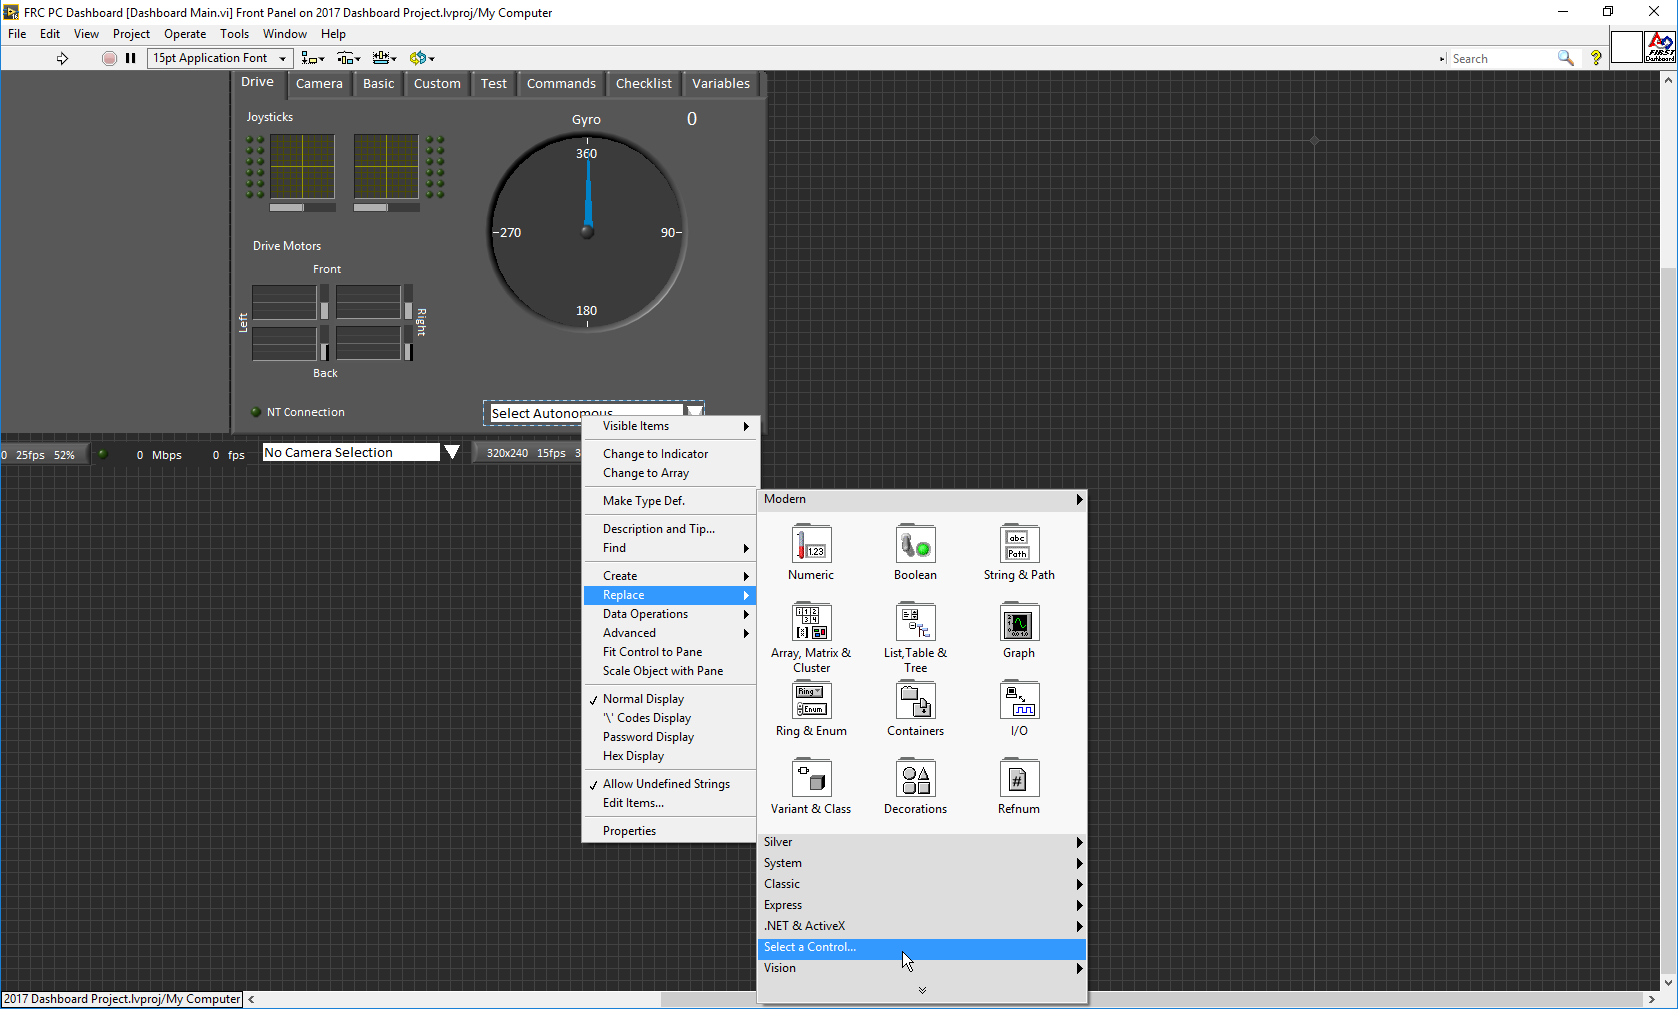
This will break the dashboard because the are several vi’s on the block diagram expecting a string, so we will go update those now.
First, we replace the Write String with a NT Write Number
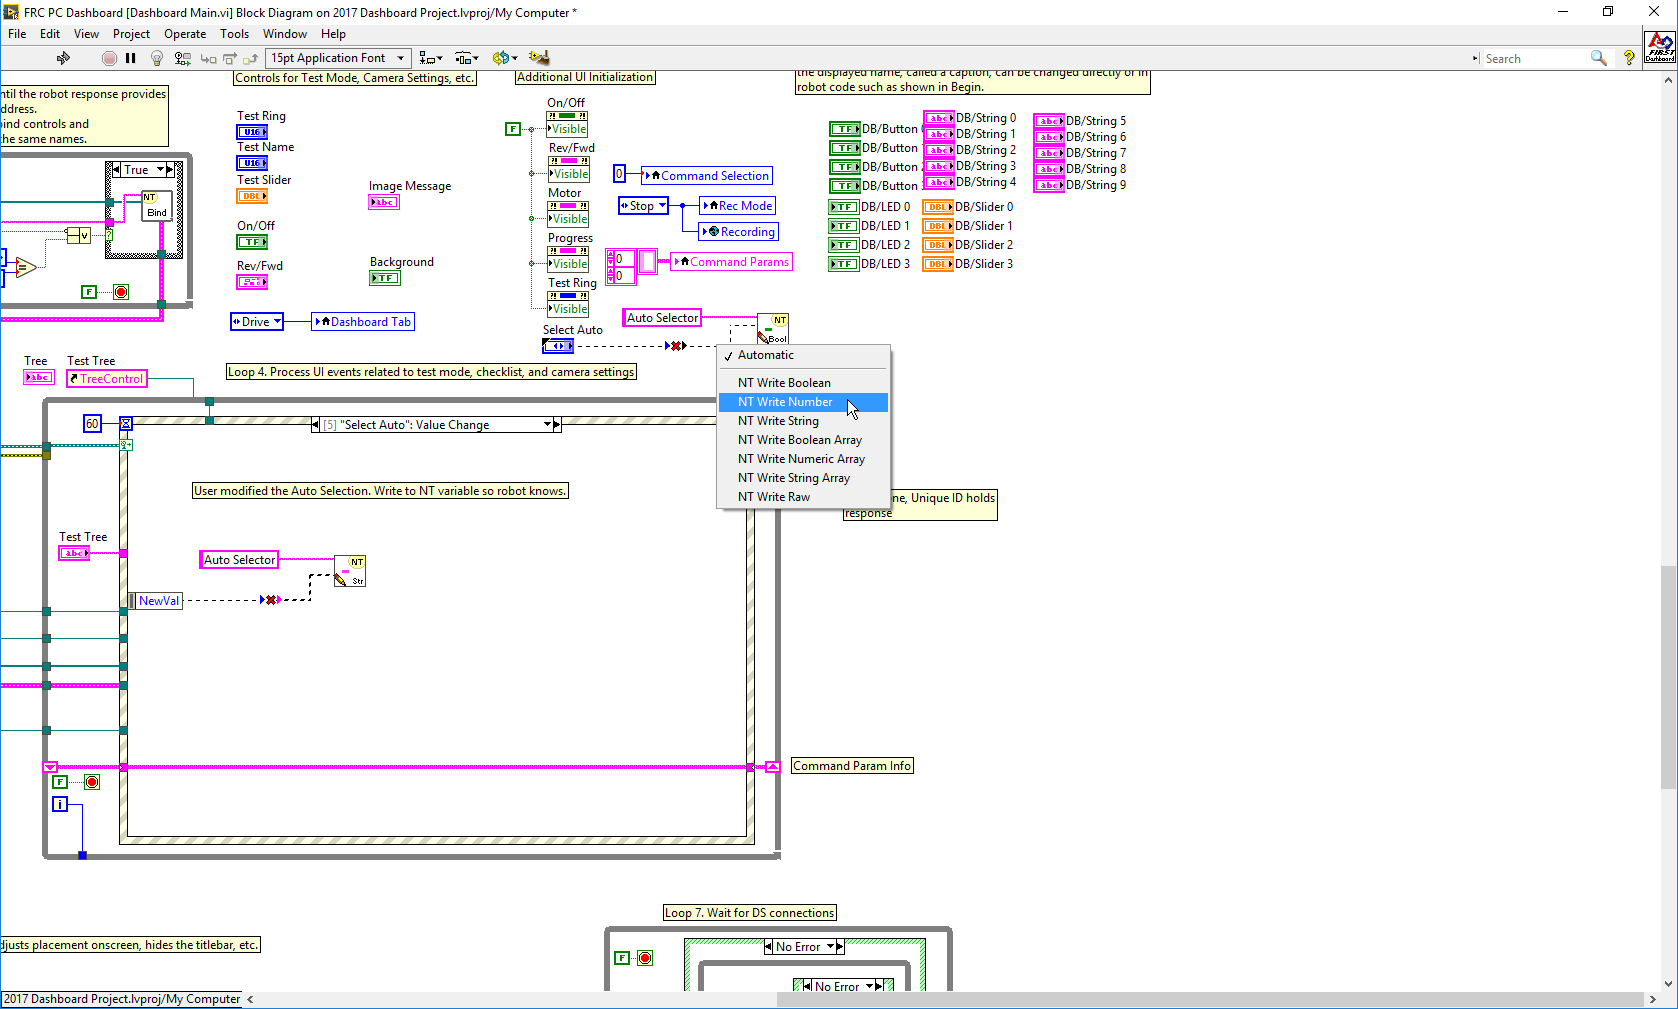
We also remove the code that updated the options (since we now know these from the enum)
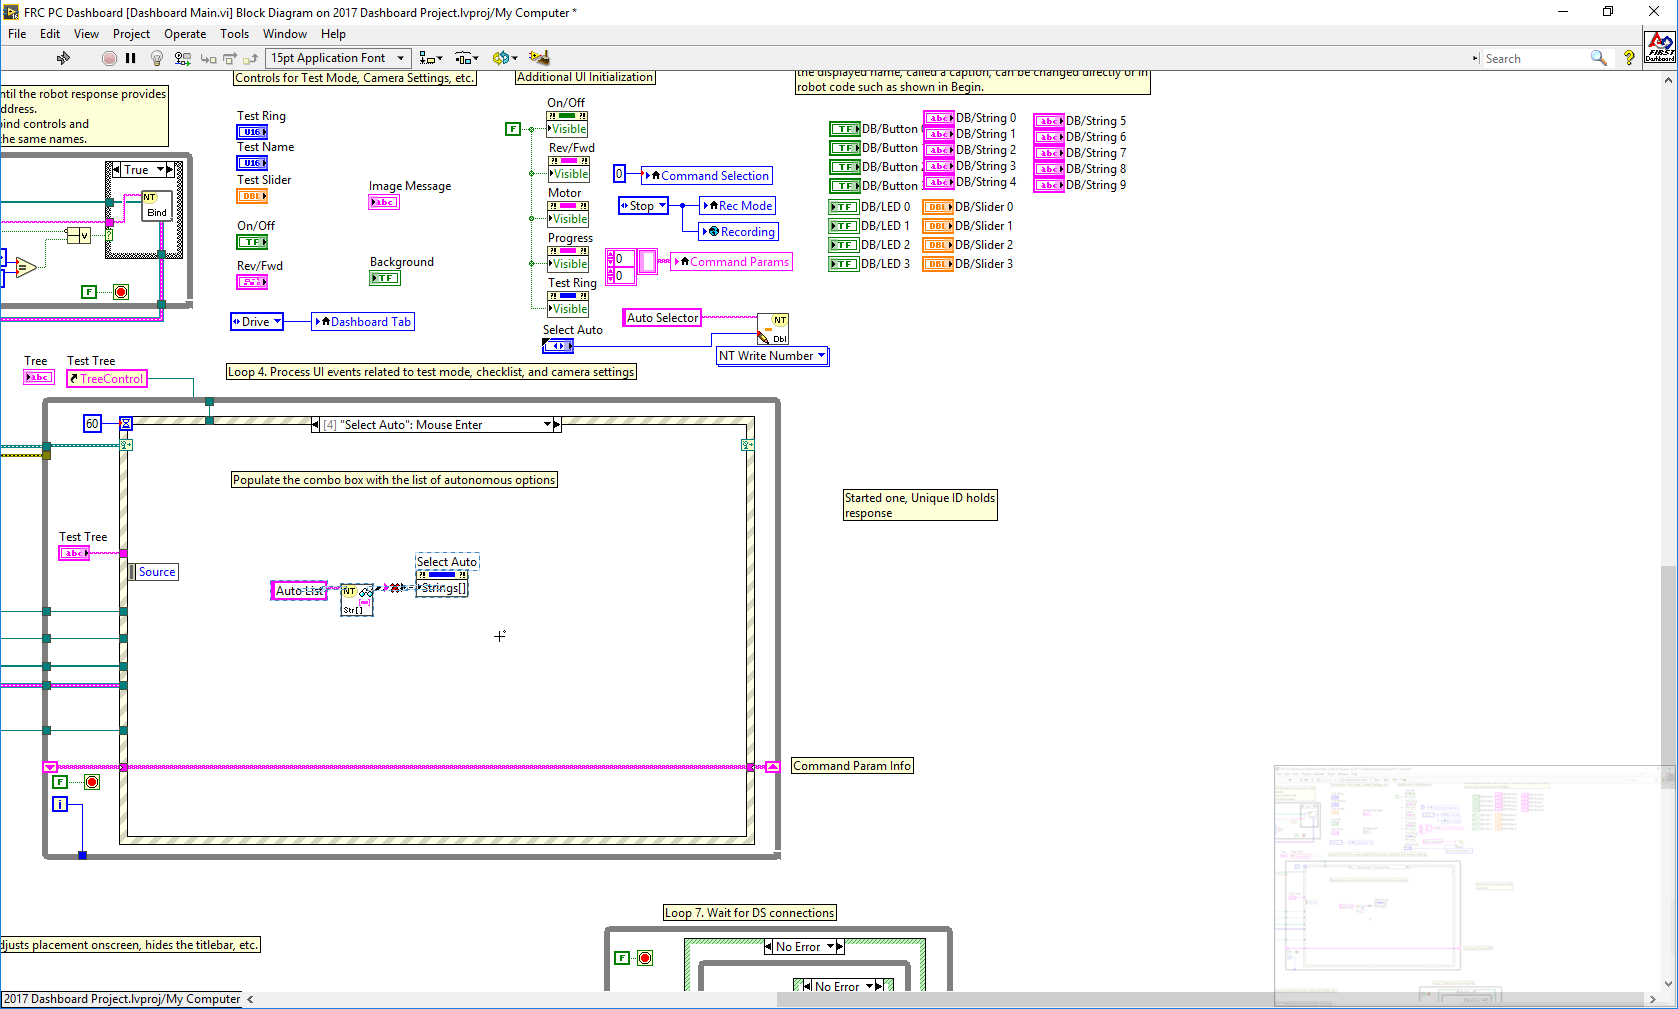
And change the “Select Auto”; Value Change case to writing a number (this is the case that sends the update whenever you change it)
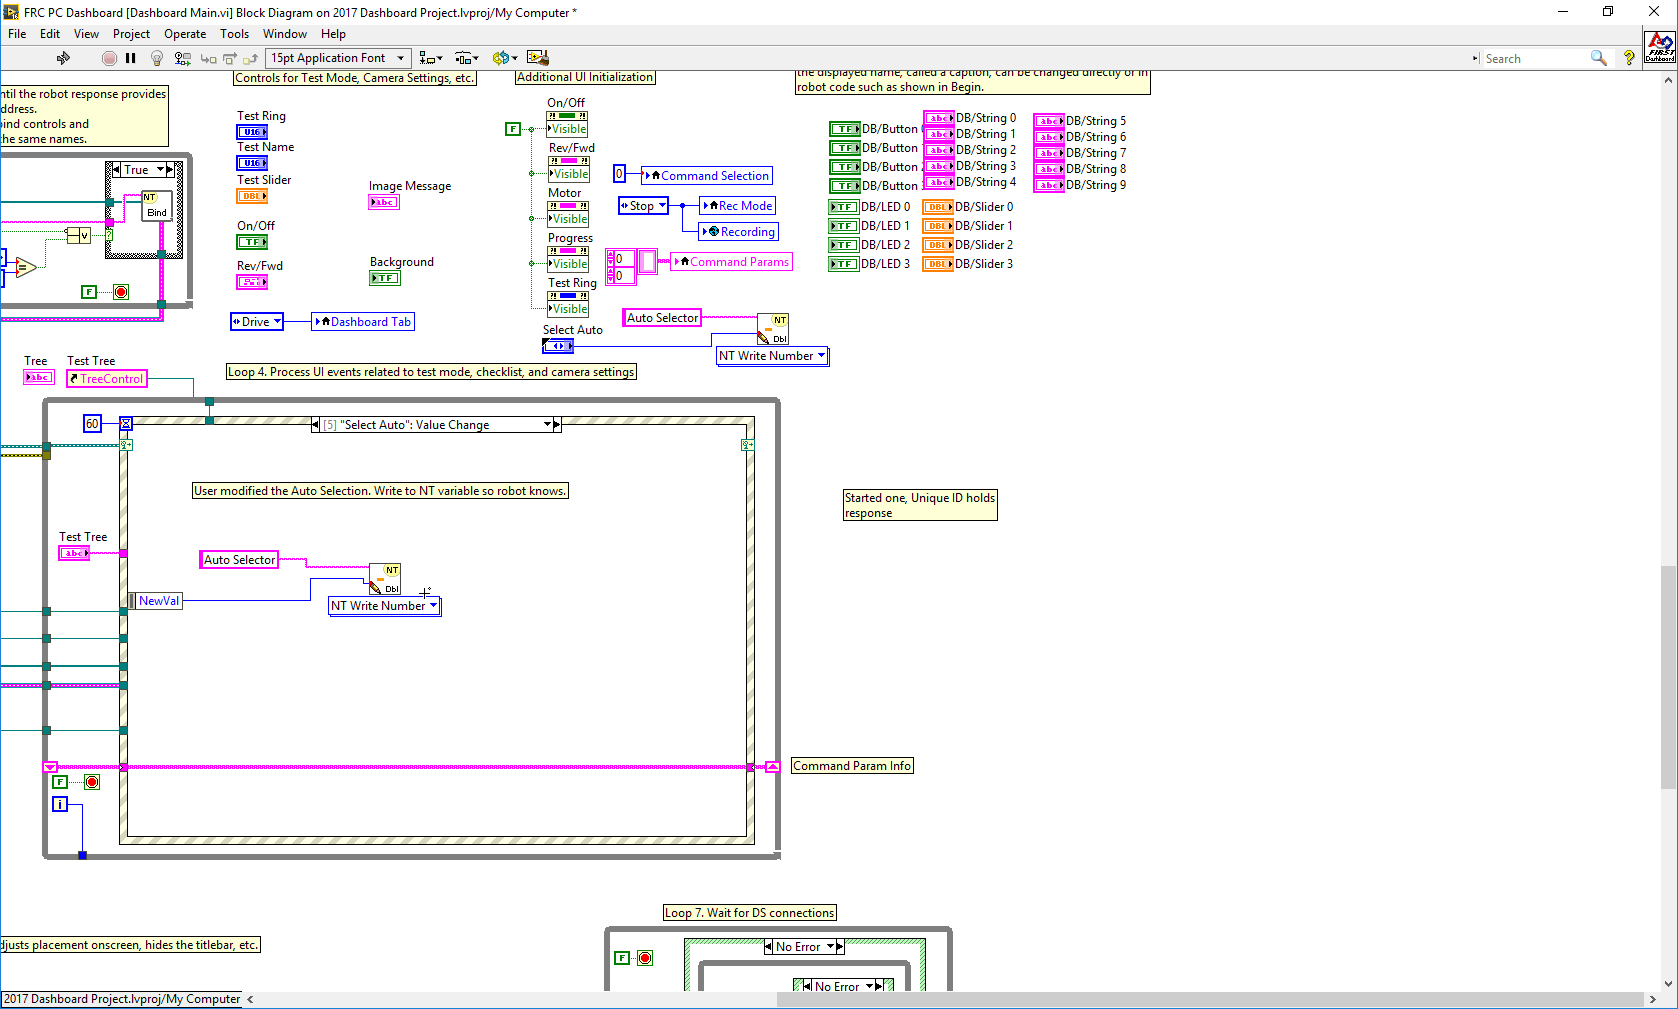
Now all you need to do to add or remove (or rename) auto modes is open the type def and change it’s items, then rebuild both the dashboard and the robot project.
Build the dashboard and copy it over the default one so (in Program Files) so when Driver station opens it will use your updated version (otherwise you need to have your updated version running first)
Extending the array of movements (provided in the default auto) to include manipulator movements
Use encoders and/or a gyro for more accurate movements (than time will consistently produce).
Google Form to request details